EXPENSES
with intelligent
data entry.
How carefully you record your expenses affects how much tax you pay. Take a photo of a receipt or forward an invoice from your email — the system will read the amounts and supplier details automatically.

Key improvements to the EXPENSES feature

AI enters the data
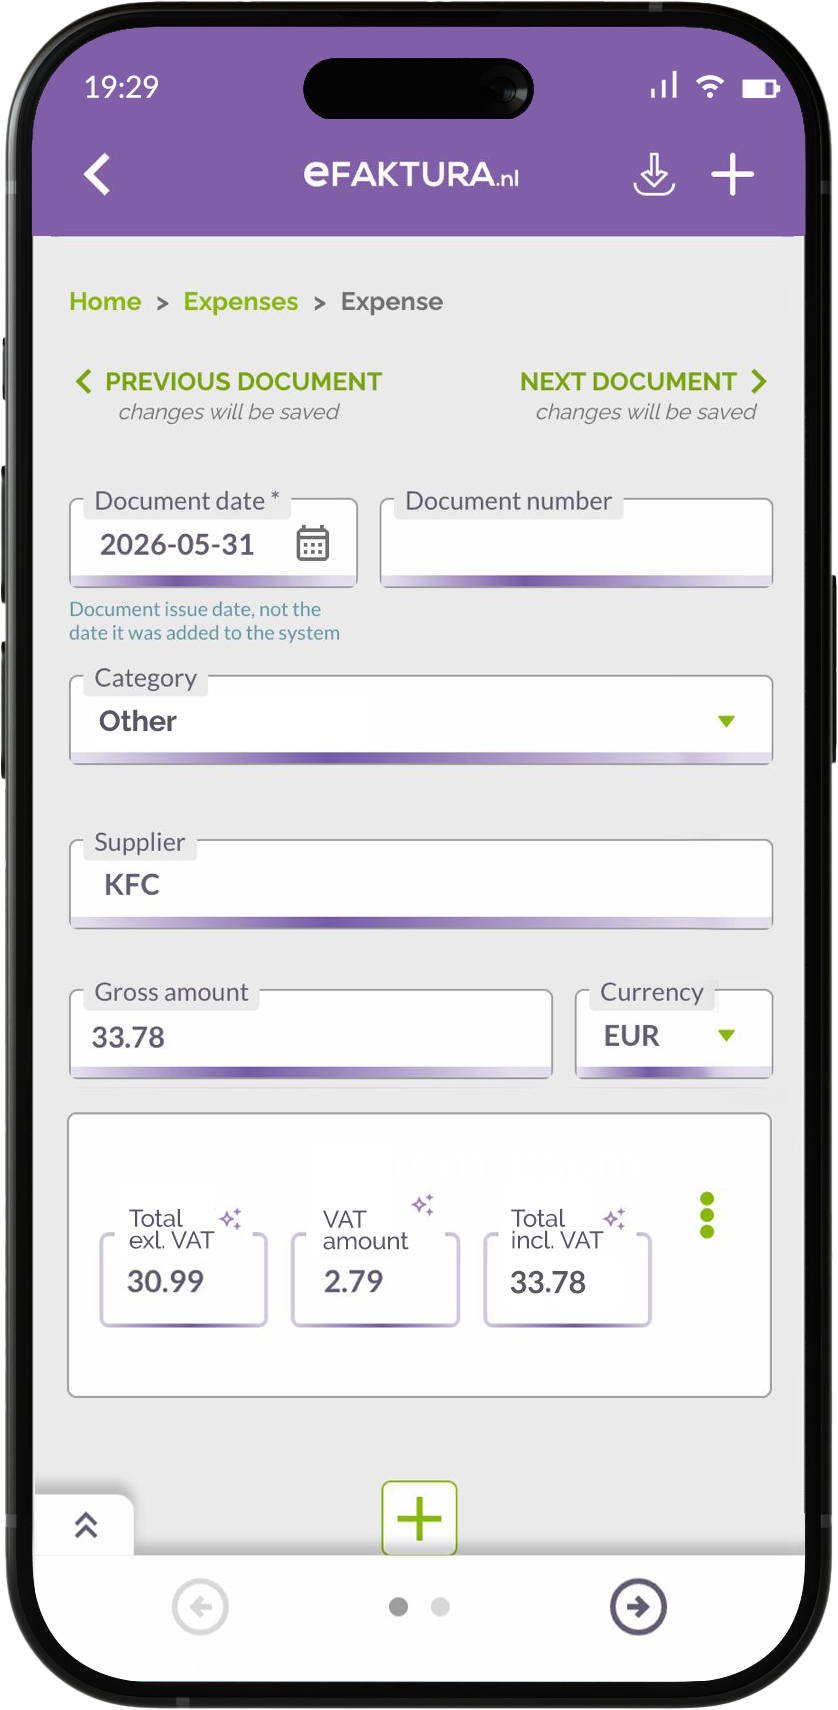
Net, gross and VAT amounts, as well as supplier details, are read from the document automatically.

Clearer receipt images

The system improves the readability of the photo and removes unnecessary background.

Your own categories
Assign an expense to a category as soon as you add it and build your own database.

Expense list
Filter by status, date, category, client and project.

Statistics
A new expense chart by category, client, project and period.
Flexible ways to add expenses
Add expenses in the way that suits you.
Choose a photo, file or email — depending on where you are and what you have at hand.
- Take a photo of a receipt with your phone
- Drag and drop a file from your computer
- Add a file from your phone
- Forward a document from your own inbox to [email protected]
- Automatically import e-invoices from Peppol and KSeF
AI-POWERED AUTOMATION
Intelligent data entry from expense documents
After you add an invoice or receipt, the system reads the document, enters the net, gross and VAT amounts, recognises the supplier details and prepares the document for further processing.
If you add an expense as a photo, AI also improves its readability — it removes unnecessary background and prepares the document for more accurate data recognition.
- All extracted data is presented to you for verification first — instead of entering it, you only need to check it.
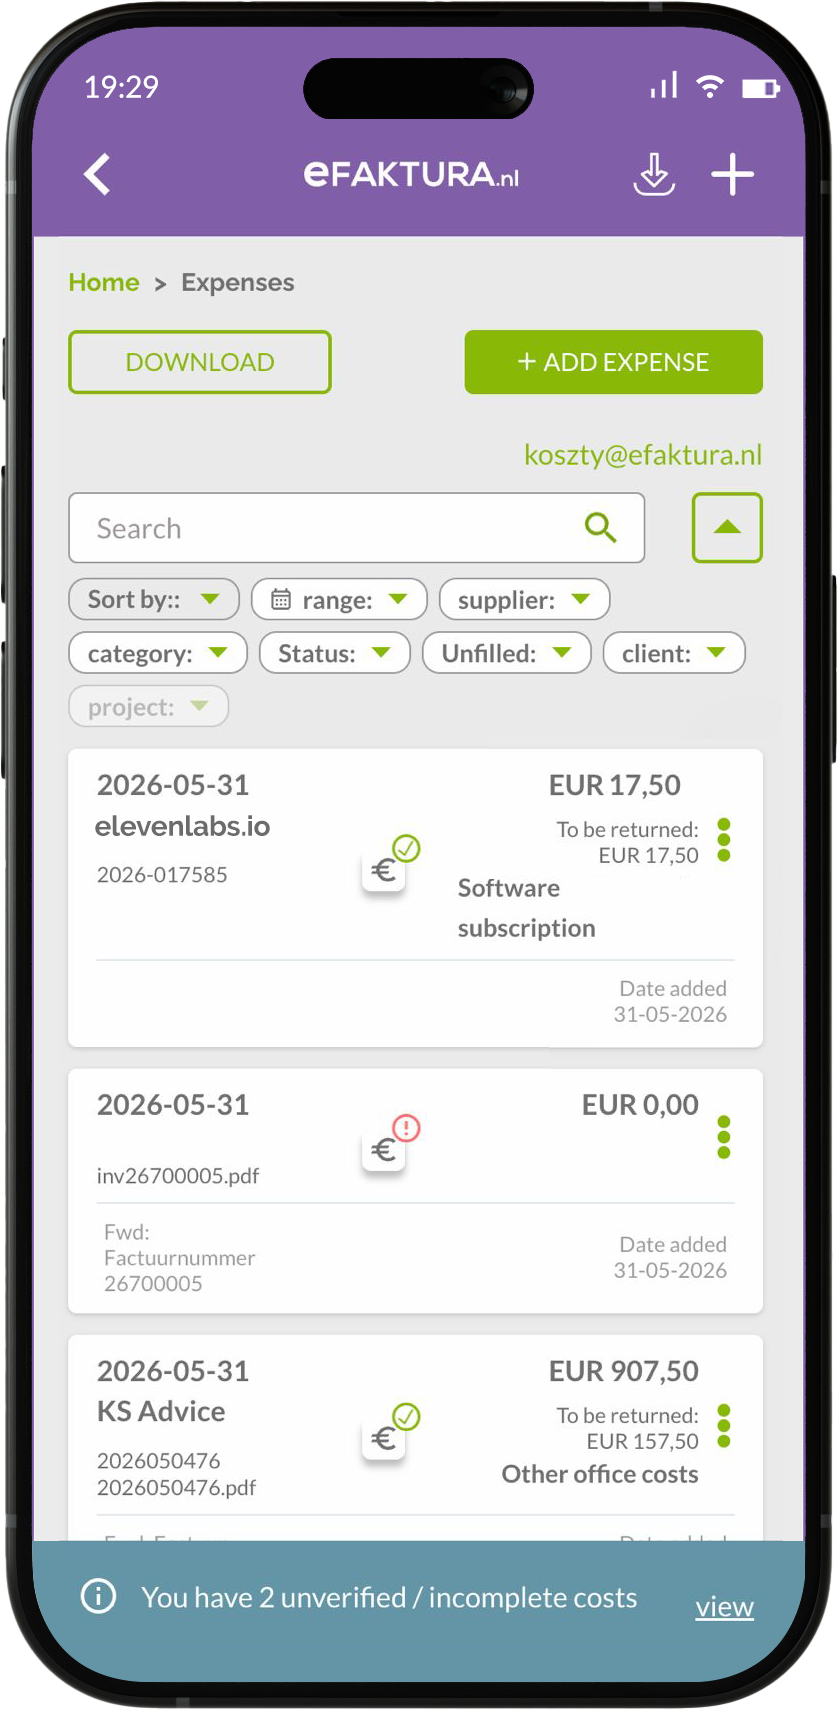
A CLEAR EXPENSE LIST
Quick overview and greater control.
A clear layout, visible payment status and quick access to details directly from the list. Advanced filters also let you focus on exactly the information you need.
Status
Date range
Category
Client
Project
EXPENSE CATEGORIES
Categories tailored to your business.
Expense categories help you organise expenses by type, such as materials, fuel, tools or marketing. They make it easier to see what you spend the most on and compare individual expense categories in your statistics.
Assign each expense to a category when you add the document. Choose from ready-made categories or create your own and save them to your database — the more accurately you categorise expenses, the more useful data you gain in your statistics.
Fuel
Materials
+ your category
Tools
Marketing
Office
Subcontractors
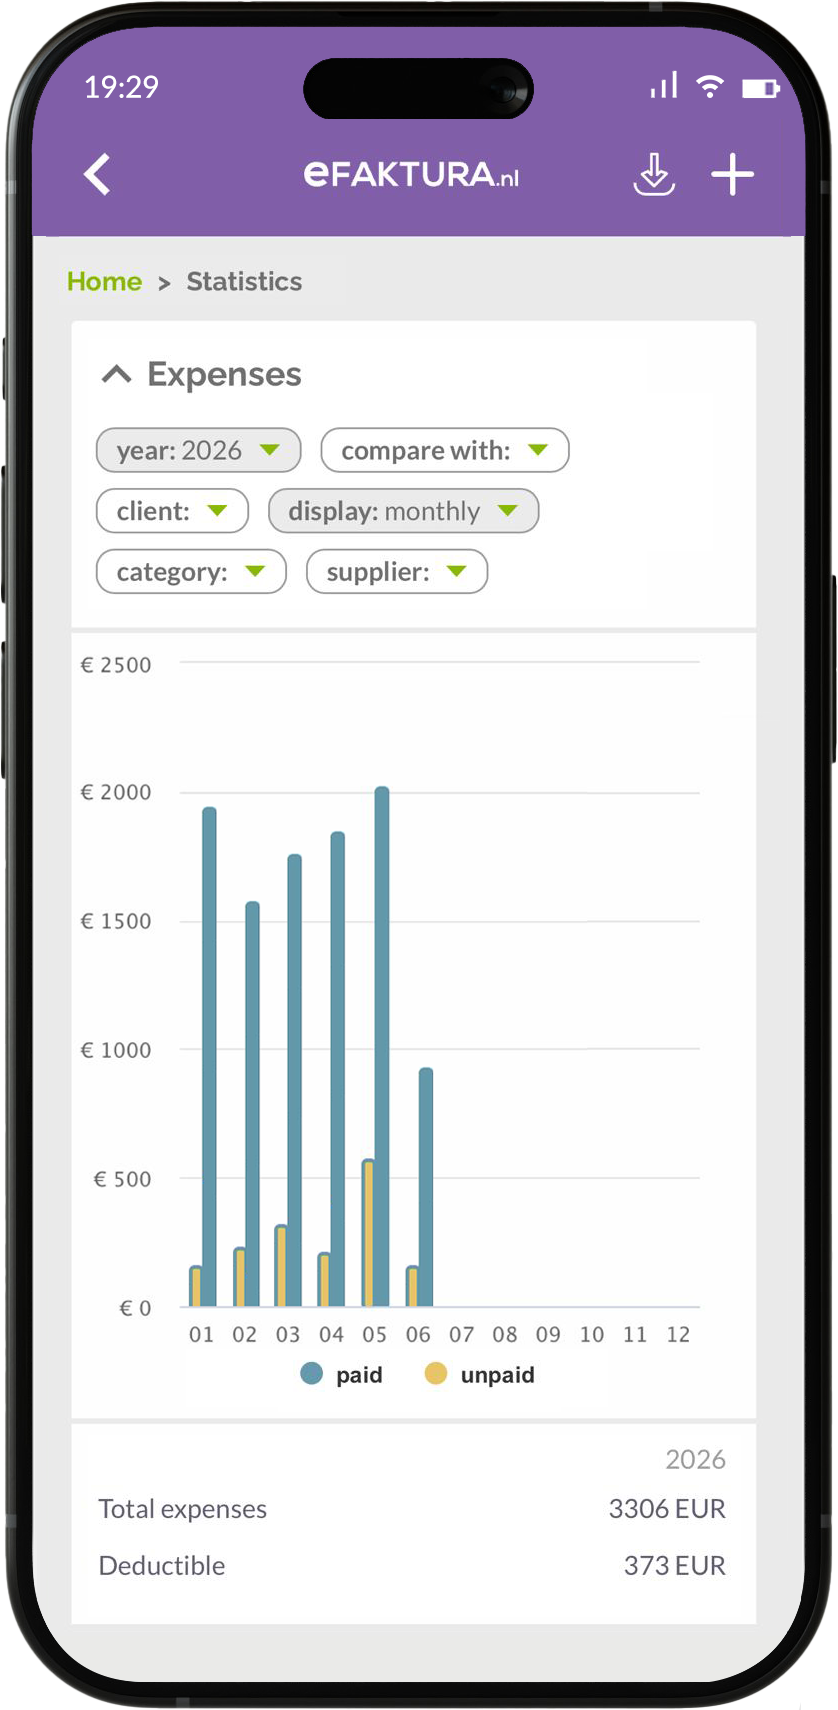
EXPENSE STATISTICS
Better insight into your expenses.
Every expense is included in your business statistics. The chart lets you analyse data by category, client, project and period — so you can see what generates the highest expenses and how your costs change over time.
How does it work?

Select Add expense
from the menu

Take a photo of a receipt, add a file or forward it by email

Check the data entered
automatically

Add the category,
client and project

Track your business expenses
in the statistics
Connect with your accountant.
Invite your accountant from the settings panel. Once your accounts are connected, they have ongoing access to your invoices, expenses and mileage records — everything needed for your tax returns.
Start recording expenses efficiently.
30 days free. No commitment.
Frequently asked questions (FAQ)
The EXPENSES feature lets you add, read and organise expense documents automatically in one place. The system uses AI to enter data, assign categories and prepare documents for analysis and accounting.
The full EXPENSES feature is available with the PRO plan. With the other plans, you can test it with up to five expense documents. This lets you try intelligent data recognition and see how expense management works before switching to the PRO plan.
You can add an expense document as a photo or a file from your computer, or send it to [email protected]. Once added, the document appears in the system automatically.
Take a photo of the receipt with your phone and add it directly to the app from your photo gallery. The system will read the data from the document automatically.
The AI system reads the receipt amount automatically from the document you add. You can edit it before saving if necessary.
The system enters the data from the document automatically. You can then check and complete it.
Send the expense document to [email protected]. Once you have added your email address in the account settings, the document will appear in the system automatically.
The EXPENSES feature supports the most common file formats, including PDF and image files such as JPG and PNG, so you can add both invoices and receipts.
The Peppol and KSeF integrations automatically retrieve expense e-invoices, which then appear directly in the EXPENSES section.
You can view, filter and download expense documents directly from the expense history in the system.
You can delete an expense at any time by selecting the document from the list and using the delete option in the system.
Each expense has two dates: the document date and the date it was added to the system. The document date is the date shown on the invoice or receipt and determines the period to which the expense is assigned. The date added shows when the document was uploaded to eFaktura.nl.
The expense description should clearly state what the expenditure relates to. This makes later analysis and accounting easier.
Connect your account with your accountant so they have ongoing access to your expense documents and can process them using up-to-date data. You can also download an expense report for a selected period as a ZIP file and share it with your accountant.
Once you share your account, your accountant can view your expense documents as they are added, without you having to send them.